Rotten Rotor
 Last week I tried to pull the rotor by using a rotor puller, and a socket (from a socket wrench set) to block it. The socket burried it's way into the first thread of the crankshaft. After realising this, I tried to fit the rotor bolt, and it wouldn't go in. Since only the first thread was damaged, I carefully drilled it out (only needed to go 2 mm deep), and now the rotor bolt fits nicely again.
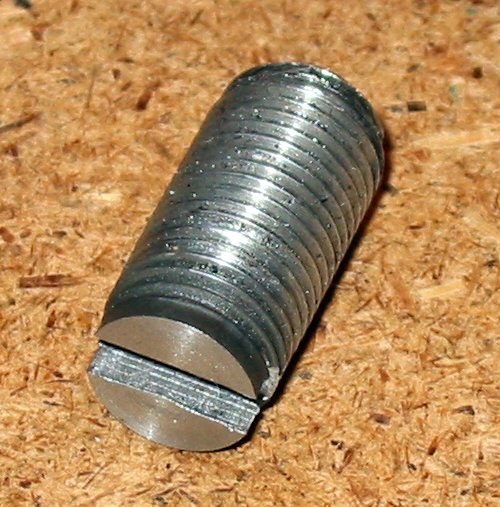 To prevent this from happening again, I ordered a new rotorbolt, and changed the old one to a stub to rest the rotor puller against. You can see the stub on the left. This is needed because the crankshaft is hollow, and the rotor puller has nothing to press against.
This evening, I spent another few hours of battering the crankshaft and the rotorpuller, still nothing. No matter what I do, the rotor does not want to let go of the crankshaft. I even tried heating the rotor up until the point I could not touch it with my hands. I protected the magnets from direct heat of the flame with a strip of aluminium, but I didn't want to take the risk to melt the plastic holding them.

 In the process, my trusty old rotor puller even almost gave up on me, I think it is time for it's retirement. The thread inside the nut is defintely at it's end, and the handle is bent out of shape from the force applied to try to seperate the rotor from the crank. That, and the beating of the hammer on the inside bolt has turned this rotor puller into a paper weight (almost).
I decided to give it another rest, I'm going to a motorbike exposition/dealer show next friday, maybe I can talk to people there about my problem. Sometimes the experienced bike repair shops have simple but effective tips to solve seemingly impossible problems.
To make my evening productive I measured the valve clearances. They are pretty nice, only 1 valves is slightly low on their clearance. This strikes me as funny because usually the clearance increases because of wear. Maybe the original clearance was allready low, or the disassembly and reassembly of the head has changed the clearing because I tightened the bolts a bit harder, I don't know. I am fairly sure I measured the clearances correctly, and at the correct camshaft angles.
Clearances are:
| left right Allowed | ||
| 0.15mm (just enough) | 0.09mm (0.06 too little) | 0.15~0.25mm |
| 0.12mm (spot on) | 0.15mm (spot on) | 0.10~0.20mm |