How to put DVD's on your iPhone (for free)

A lot of companies like to sell you applications to put DVD's on your iPhone. Usually these apps are just wrappers around existing tools, and are pretty expensive if you consider you can do it for free. And you don't need to be a computer wizard either! The steps are simple:
  1. Use [Handbrake](http://handbrake.fr/?article=download) to rip the DVD to iPhone format
  2. Drag the generated mp4 file into iTunes
  3. Sync it to your iPhone like all other content
To show you exactly how this is done, I've written up this "babystep-by-babystep" tutorial. Let me show you how I ripped "For A Few Dollars More" and put it on my iPhone:
**Disclaimer: **The DVD I ripped is bought and payed for. This article does not relief you of your responsibility to obey the law, so please be careful. And be nice, don't pirate.
What You Need
  * [Handbrake](http://handbrake.fr/?article=download) for ripping the DVD
  * [VLC](http://www.videolan.org/vlc/), which is used by handbrake for DVD's with encodings not supported by Handbrake. You don't always need it, but download and install it anyway, just to be sure.
  * Some patience.
Step 1: Rip the DVD to an MP4 Put a DVD in your Mac, and stop the DVD player application if it opens automatically.
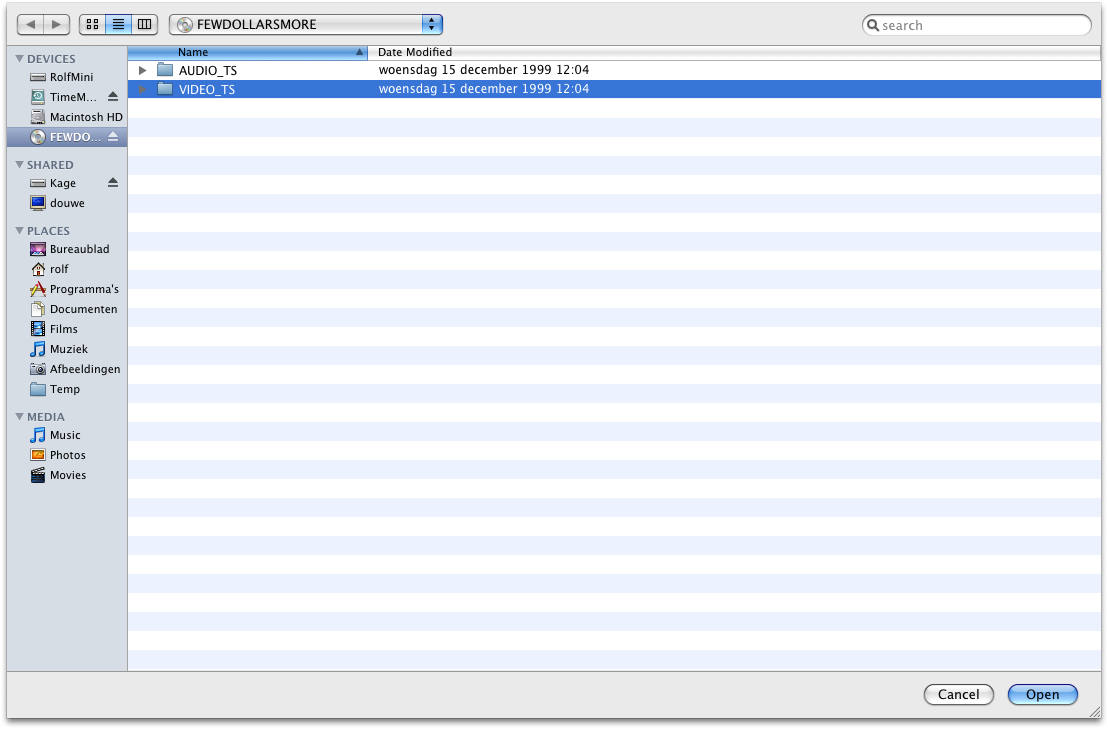 Start Handbrake. A selection window will open, use it to browse to the DVD, and select the VIDEO_TS folder (just select it, no need to go into it) and then press "Open".
 Handbrake will briefly scan the DVD for titles. In the "Source:" section of the screen, select a title and the chapters you want to rip. Usually Handbrake guesses that it's the longest title, with the most chapters you want to rip. Let's go with those defaults.
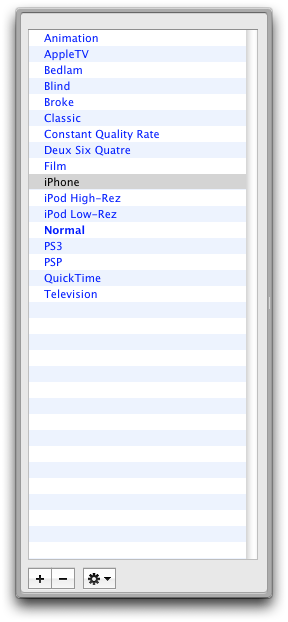 Press the "Toggle Presets" button on the top right, and select "iPhone" from the list that pops out on the right side of the Handbrake window.
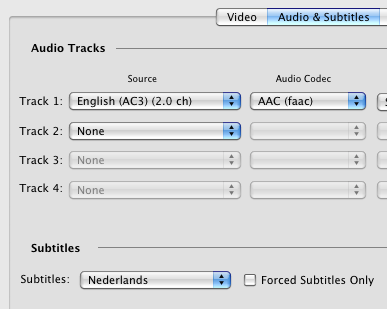 Next, click the "Audio and Subtitles" tab and select the audio and subtitles you want to listen and read in the ripped video. You can NOT change audio and subtitles later on your iPhone, so choose wisely. This is usually the step I forget, which requires me to wait for the whole ripping process again.

Make sure the destination file is where you want it, and press the green "Start" icon. Handbrake will start reading the DVD and create an MP4 file. This can take a while, so you might want to get a cocktail. Handbrake will show a progress bar in the icon in the dock. Step 2: Import into iTunes After the ripping is done, you can add your mp4 file to the iTunes library by simply dragging the video file into iTunes. There you can set the title, year, genre and illustration exactly as you did with your music files.
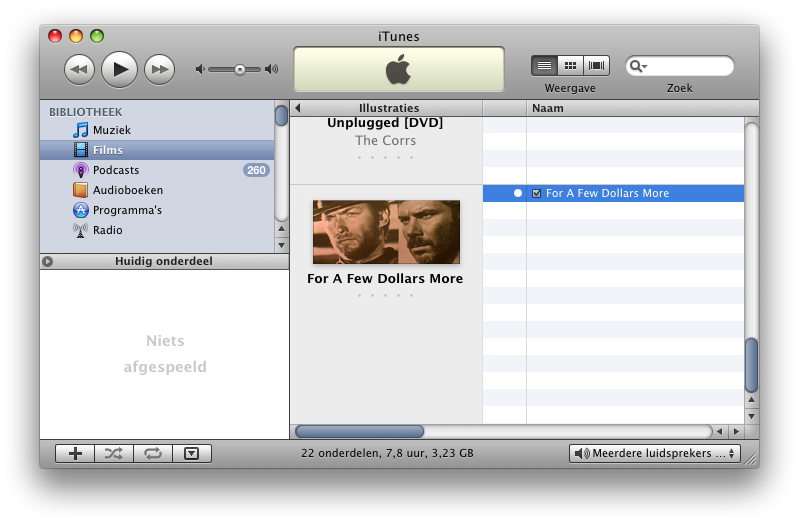
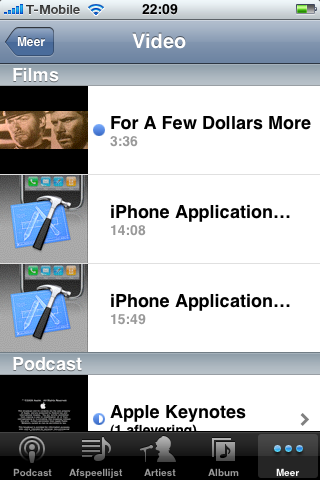
Step 3: Putting it on your iPhone Plug in you iPhone. Go to the iPhone configuration and click on the "Video" tab. Scroll down, and select the video you just imported:

When you press "Apply", iTunes will immediately start copying the movie over to the iPhone, where you can find it in your iPhone in your iTunes library.
Advanced Tips:
* [
](img_0005.png)The DVD I just converted (For A Few Dollars More) averaged out to about 3,5MB per minute. That's about 5 hours of video per GB, but your mileage may vary. On average you should be able to take at least one or to movies with you on your iPhone. If your music is in the way, you can use these tips to make iTunes organize your music for you. * Handbrake has an "Add To Queue" button which lets you convert multiple movies in a row. In order for that to work you need to copy the VIDEO_TS folders of multiple DVD's onto a harddrive. Now you can convert multiple DVD's overnight.